Last phase of the MVC application in Java
This project is a continuation of the previous assignment to create a full-stack MVC application which implements various types of image manipulations, scripting, enhancements and interactive graphical user interface.The previous phase of the project has focused on the implementations of all six image algorithms and user-defined interactive batch-script for the image model. The required tasks in this phase are to implement at least three of the four image enhancement features described in this assignment, along with additional functionalities in the controller and GUI/frame view to support the handling of the selected image enhancements (Image Cropping, Edge Detection, and Generating Images), implement tests to test the controller in isolation from the model and view, and create a README.md file.
The project contains three main folders: src/folder, test/folder and res/folder. The src/folder contains three packages named imageview , images and script. The images package contains the class files of the model, the optional image enhancement model driver to verify the enhancement features, the image model interface and other class files related to the model. The imageview package includes the GUI controller and view, the view interface, and main driver to run the GUI. The script package is created from the previous homework 8 assignment. The test/folder contains mock files of the model, the view, and test file of the GUI controller EnhancementControllerTest. The res/folder contains two .png example source images, temp files, Examples folder for README.md, the JAR file folder with attached META-INF folder, and the resulting enhancement samples folder containing images of vertical and horizontal rainbows, checkerboard, national flag, edge detection, and image crops.
- Fully implemented Image Cropping enhancement feature in the ConcreteImageModel.
- Fully implemented Edge Detection enhancement feature in the ConcreteImageModel.
- Fully implemented Generating Images enhancement features in the ConcreteImageModel.
- Created an optional ImageEnhancementDriver in the images package directory to verify that the list of enhancement features are implemented correctly in the model.
- Added three image enhancement options: "Crop Image", "Edge Detection", and "Generating Images" in the Menu Options of the main window.
- Implemented the five required steps for Image Cropping.
- Implemented additional cases and methods in the GUI controller to allow user to apply image enhancement features in addition to the six fully implemented image manipulation effects in the Script Options menu.
- Implemented additional Java Swing Components and methods in the GUI/frame view to build a more robust graphical user interface.
- Resolved issues to stack multiple image effects while the user is interactively creating and executing the script.
- The user is able to apply, stack the Edge Detection and Image Crop enhancements with any or multiple image algorithm effect defined in the Script Options interchangeably while the image gets updated and displayed in the main window.
- Once a user selects the a .png image file in the designated res/folder (except the "temp.png" files), the JScrollPane component is implemented to allow user to scroll the image.
- User interface is expose all the required features of the program: blur, sharpen, grayscale, sepia, dithering, mosaic(seeds: 1000, 4000, 8000, 15000), as well as the ability to load and save images via a JMenu.
- The user is able to specify the desired image to be loaded for image processing via JFileChooser.
- When a user specifies any image effect operation, the result is visible to the user in the main window.
- Provided a means for the user to interactively create and execute a batch-script.
- Included a robust list of image manipulation commands to test each individual algorithm and various combined/stack affects.
- Made reasonable attempts to design the GUI in a user-friendly way. See Examples - expected view outputs generated from the GUI.
- Created a mock GUI model and a mock GUI view to independently test the controller from the original model and view. A total of 21 tests are created in the EnhancementControllerTest.
- Unable to implement a visual indicator/guide when a user drags the mouse across the screen to crop an image.
- Unable to fully implement the Generating Image option configured in the main menu options for user-specified inputs such as width, height, number of squares per side, and two color choices of the vertical, horizontal, checkerboard and flag images to be triggered and displayed in the main window.
- Unable to test the Run Script command in the controller as it's not implemented from the previous homework assignment.
- Unable to apply keyboard shortcuts for the list of options in the main menu and script menu.
- The project can be run by either executing the jar file provided as a part of homework 10 files or by importing the src and test folders provided in the submission of this assignment and executing the Main.java file located in the imageview package directory.
- Using JAR-file approach:
- Execute the JAR file by double-clicking on the file with the .jar extension in the res/Jar File sub-folder. Once you open the .jar file, click on the Load Image File option and make sure to select either the brisbane city.png or city development.png file inside the res folder.
- Important Note: make sure that you have JDK version 8 or higher installed on your machine.
- Using the second approach:
- Extract the archive, including the src and the test folders.
- Create a new Java Project in your preferred IDE.
- Import the src and test folders accordingly in your project.
- Navigate to src/imageview/Main.java and run the Main.java file.
- Using JAR-file approach:
- Use the "Menu Options" bar on the main window to initially load in a desired image. Left-click on the "Menu Options" select the "Load Image File" option.
- The res folder contains sample images for your convenience, such as "brisbane city.png" and "city development.png", but feel free to navigate your way to an external folder on your machine and select the desired png image from it. Please be sure not to select any image named "x_temp.png" in the res folder.
- After selecting the image, click Open.
- The image should appear on the screen, when that happens, click on the "Menu Options" bar on the top left corner of the main window again and choose from any one of the four options Create Script, Crop Image, Edge Detection, Generating Image to start manipulating the image effects.
- A new window option dialog Script Options will pop up if the Create Script option is selected from the main Menu Options. This window contains all of the manipulation effects can be applied on an image. Here are the six image effects you can choose from:
- Blur
- Sharpen
- Sepia
- Dither
- Grayscale
- Four Mosaic variations: 1000 seeds, 4000 seeds, 8000 seeds and 15000 seeds.
- Select the option corresponding to the filter effect you want to apply to the image and the resulting image will be displayed in the main window. This process can be continued by stacking different image effects in conjunction with the three added image enhancement features in the main menu options.
- A sub-folder named Resulting Images inside the res/folder contains executed image examples implemented with various image enhancements.
- Click on Save Image File option in the main menu to save a manipulated image or simply click on the "X" symbol on the upper right corner of the window to exit the program. If you choose to save option, be sure to save the resulting image name with .jpg extension.
- Below are the expected view outputs generated from the GUI.


- Below is an example of a user-defined batch-script generated by the GUI.
sharpen mosaic 4000
sharpen
grayscale mosaic 15000
grayscale
sepia mosaic 4000
sepia
dither mosaic 1000
dither
mosaic
mosaic 1000
mosaic 8000Process finished with exit code 0
-
"How to Use File Choosers", docs.oracle.com - File Chooser - Java Documentation
-
"Adding elements to a JList", stackoverflow.com - JList
-
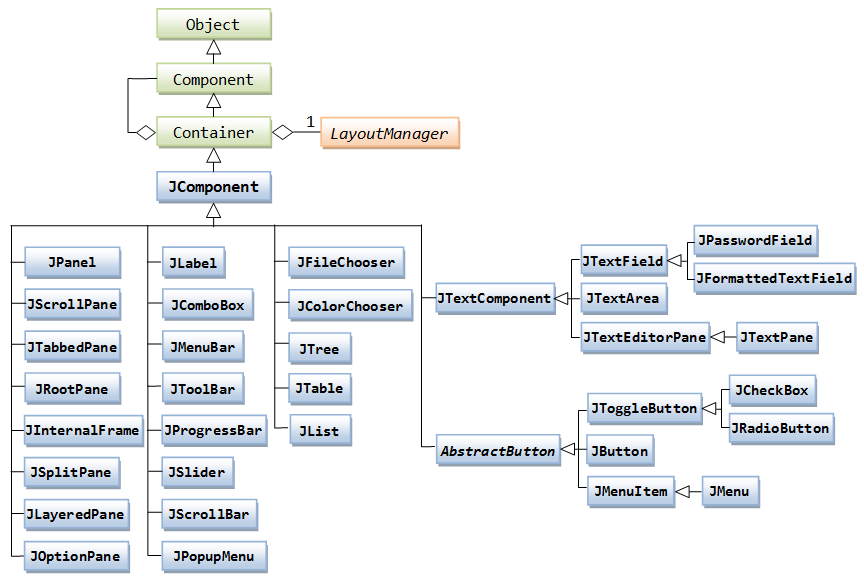
"JComponent Class Diagram", geeksforgeeks.org - Java Swing | JMenuBar
-
"JComponent Class Diagram", www3.ntu.edu.sg - JComponent Diagram
-
"Class JComponent", docs.oracle.com - Class JComponent
-
"Visual Guide to Java Swing Components", web.mit.edu - Swing Components
-
"Compile and build applications with IntelliJ IDEA", JetBrains - Build a JAR file in Intellij IDE
-
"Run class in Jar File", stackoverflow.com - Run jar file
-
"Image 1 example", freeimages.com - Brisbane City
-
"Image 2 example", freeimages.com - City Development